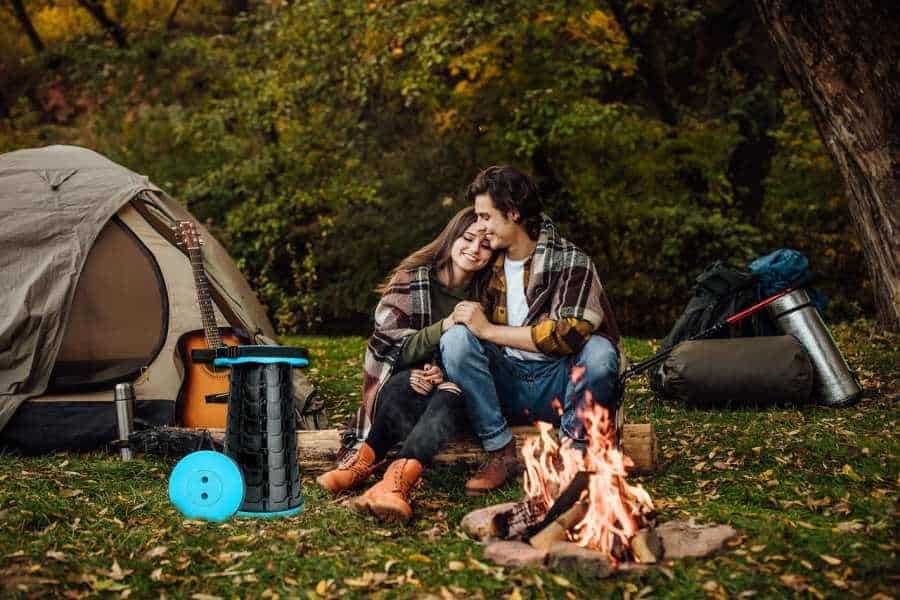
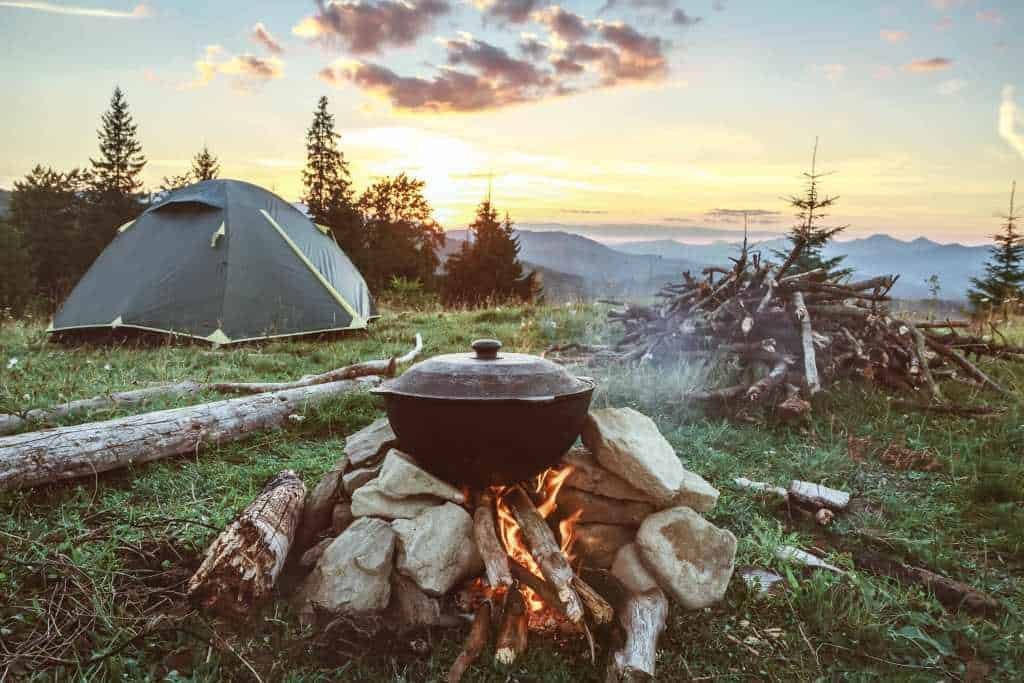
Sitting around a campfire at night with friends during a camp is the most exciting part of camping. These moments are always filled with laughter from those funny stories, jokes, and all sorts of crazy things. Nevertheless, the significance of a campfire does not just end there. Apart from warming your bodies during these pleasurable moments, you also get to make some marshmallows over the campfire. The campfire will also provide some light and scare away animals that can cause interference in the wild. This makes campfire-building techniques an essential skill to possess in the outdoors.

The following are the various types of campfires:
1. Teepee
This is the easiest to make and it is usually used as the primary arrangement for other types of campfires.
Procedure
Start off by putting tinder at the center of the place where the fire will be. Pile up small twigs around it in a pyramidal shape and gradually follow this with bigger twigs. Keep in mind that you have to leave a gap to easily reach in and light it up. Of course, there is no need for very big pieces of wood if you will be using this as a starter for another type of campfire.
2. Log cabin
This is durable and does not require much attention.
Procedure
With the teepee at the center, place two logs on either side parallel to each other. From there, progressively place two smaller logs on top of them perpendicularly until you have your preferred size.
3. Platform
The procedure for making this is pretty much the same as that of a log cabin; only that this does not have an opening at the center for a tepee.
Procedure
Start off with two large logs at the bottom, placed on either side parallel to each other. From there, gradually place smaller wood on top of them (across) forming a solid platform. This can also be done the reverse way. After creating the lay, make a teepee on top. Combustion will begin with the wood at the top which will, in turn, ignite the ones at the bottom. This is why a platform can also be called an upside-down fire.
4. Star
This is very durable and requires little maintenance.
Procedure
Start off by making a teepee fire. When it starts burning, place firewood around it with an end into the flame. Push the wood to the center as they become used up. However, to avoid pushing the wood, you can dig a hole with slanting sides at the center (the force of gravity will help pull the wood into the fire).
5. Lean-to/Reflector
This is built using green logs, stones, or other materials to obstruct wind and reflect warmth. Lean-to fire will help to keep you warm while sleeping in the wild.
6. Dakota
Building this will require a lot of labor.
Procedure
Dig a hole straight down as well as a tunnel connecting to it in order to provide airflow for the fire. Create a platform on top of the hole. Making the sides of the hole slant will make it easy to add in some fresh wood. The platform can support pots and pans, so this can be used for cooking.
7. Trench/Through
This provides a flat top that is convenient for cooking.
Procedure
Create a narrow channel by digging the ground, placing two fresh, large logs or two rows of stones parallel to each other. Make sure that your pots can lie on both ends without sinking in. Light a fire within the created trench.
You can also create the layers in such a way that a bigger pot can fit on one end while a smaller one can fit on the other.
8. Swedish Torch
Just like a Dakota, this is very labor-intensive.
Procedure
Split a large log into various sections up to three-quarters of its length then start a fire in the middle. The log usually burns from the inside to the outside.
Campfire Tips
Starting a campfire
Before building a fire, always clear the ground. Remove things such as dry leaves, grass, and twigs as these can accidentally cause a wildfire.
Campfire in a windy environment
Trough, Dakota and Lean-to fire lays are the best options when it is very windy. Just ensure that the reflector and trough edges are set perpendicular to the wind. A teepee can also be used if it has more and denser wood facing the wind.
Building a campfire with wet logs
Don’t tense in case you need a campfire during wet conditions. You can split up wet logs which are dry on the inside to obtain dry wood. So, this dry wood is what you will use to make your fire. Then, place wet logs on top of the fire in order for them to dry before they get to the middle. Of course, splitting the log into smaller portions will quicken the drying process.
Putting out a campfire
Drown the fire with water, stir, then drown again. Also, check under the rocks and remaining wood to ensure that there are no embers. Feel the materials with bare hands to ensure that they are no longer burning.
Safety Tips
Build the campfire at least three meters away from dead trees and hanging over branches, and at least fifteen feet away from the camping tent.
Always keep an eye on the fire. You can sleep in shifts to ensure that somebody is watching.
Keep anything that can be used to extinguish a fire close just in case of fire goes wild (water, dirt, a shovel).
Conclusion
After sitting around the campfire and relaxing just enjoying the warmth, you don’t want to repeatedly get up and feed the fire with fresh wood. So, to make the wood burn slowly, always make sure it is perfectly DRY before placing it in the fire. Remember that every situation has the perfect campfire for it. This article has highlighted the types of campfires that are convenient for cooking and windy conditions. For those who have never tried a campfire while camping before, you don’t want to miss this out next time. Now you can make any type of campfire that you prefer.
Which is your favorite?
As this is a beginner guide to camping tips, you express your choice and experience below in the comments. We are waiting for your response to know, which is the popular campfire technique.

